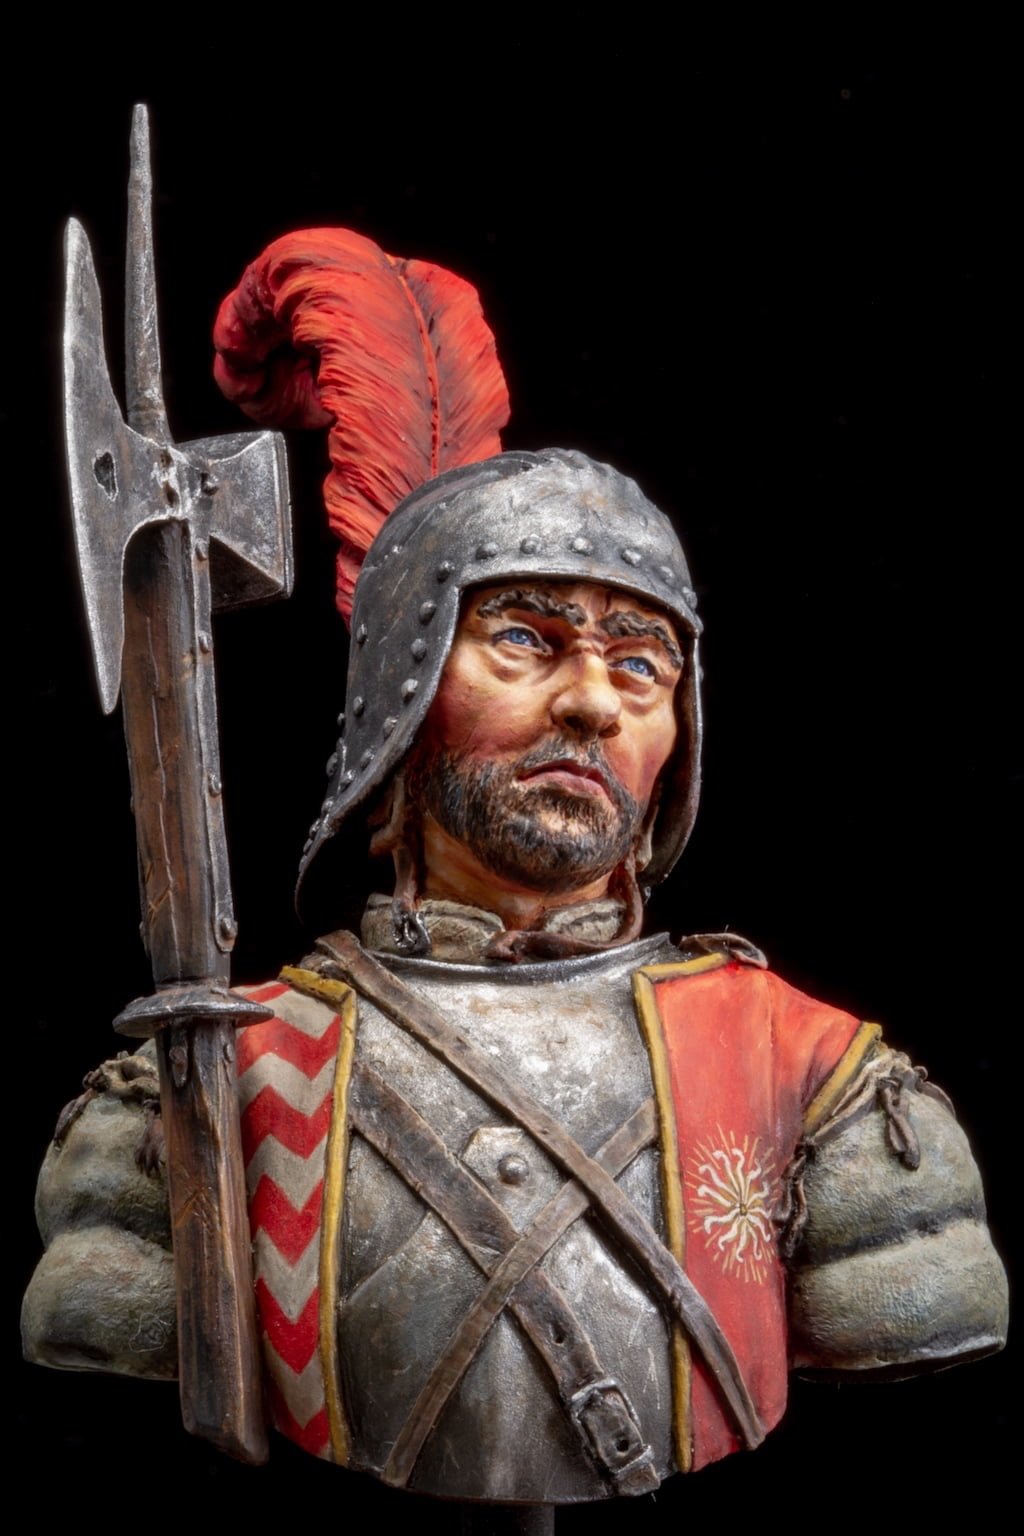
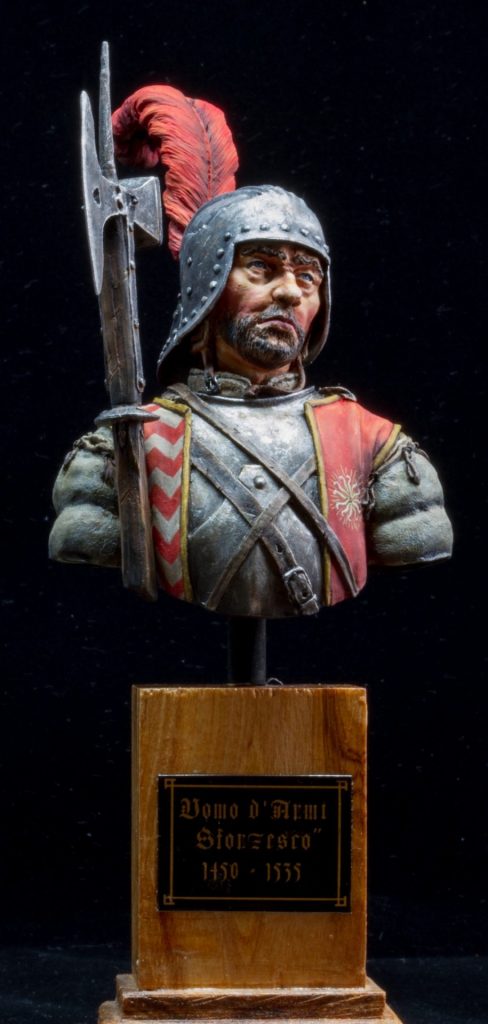
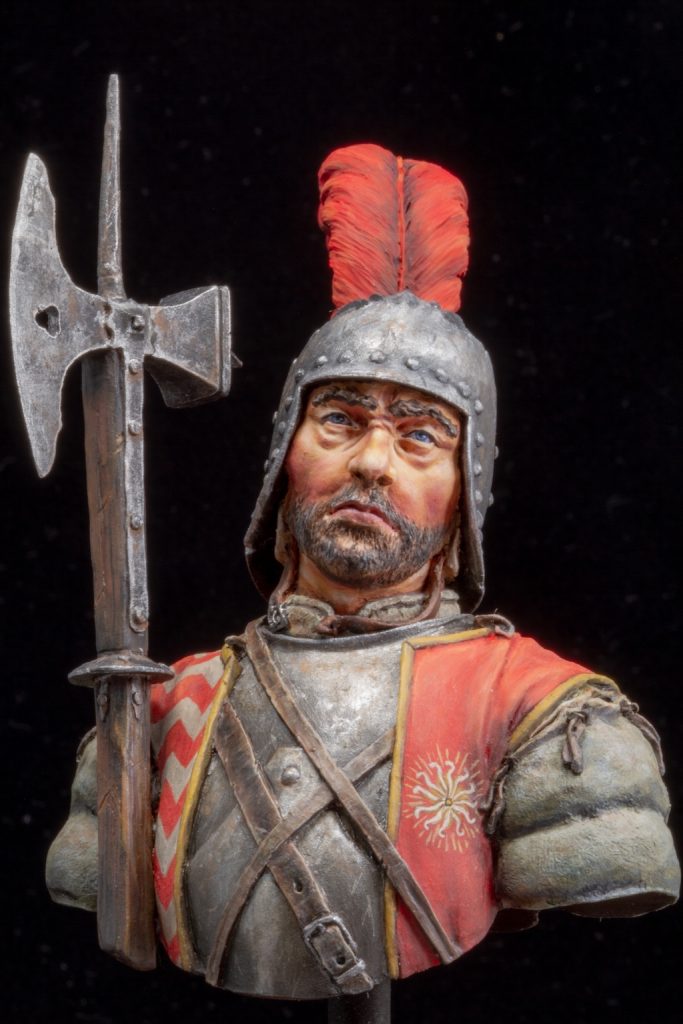
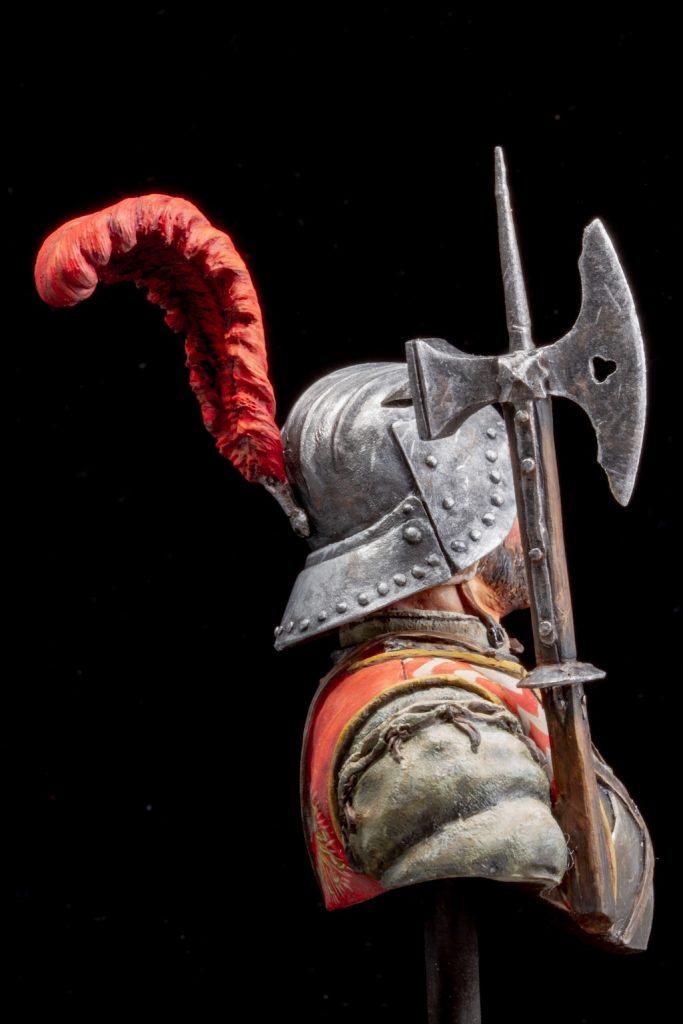
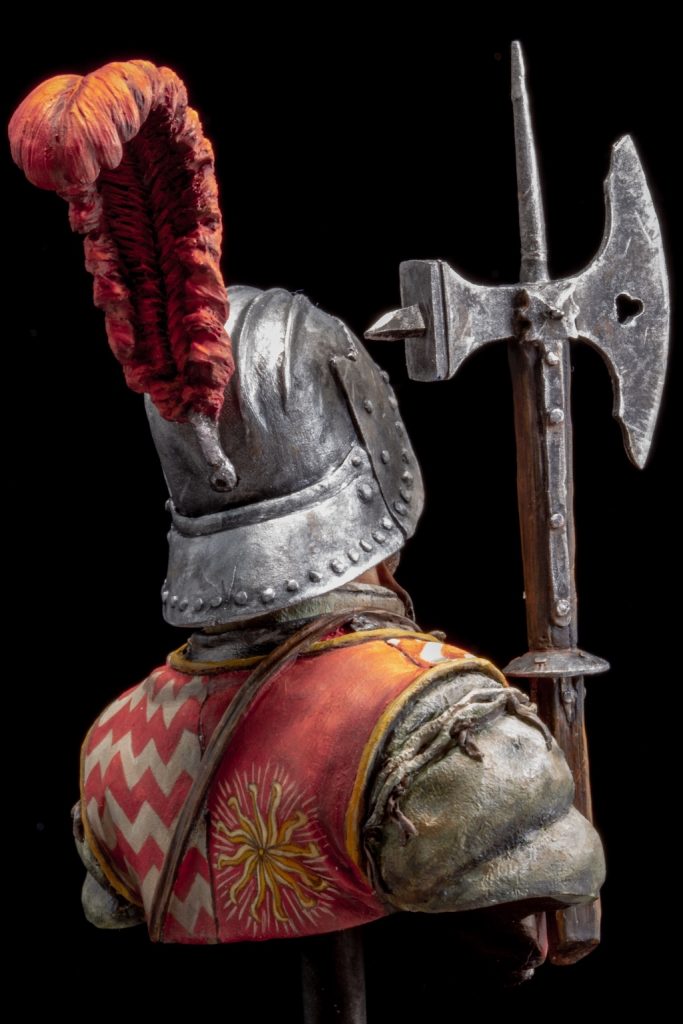
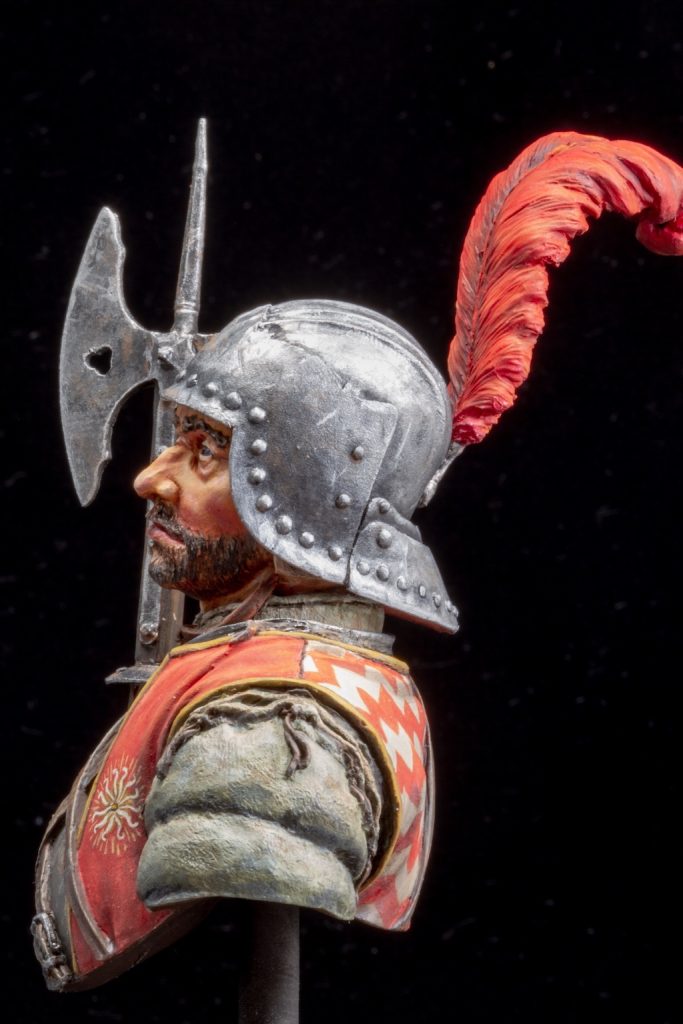
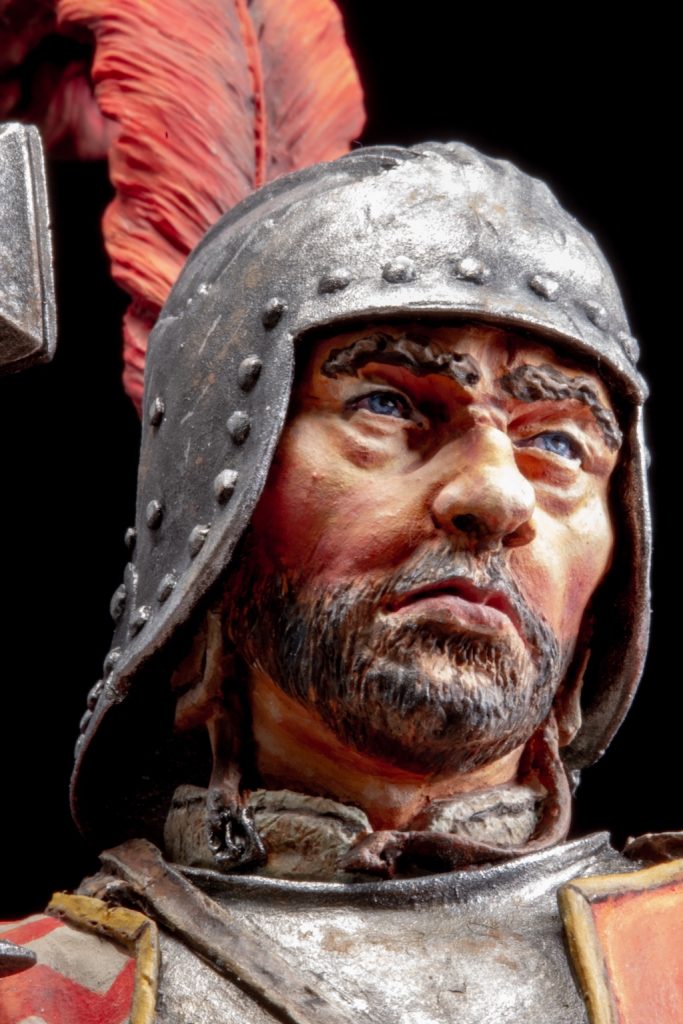
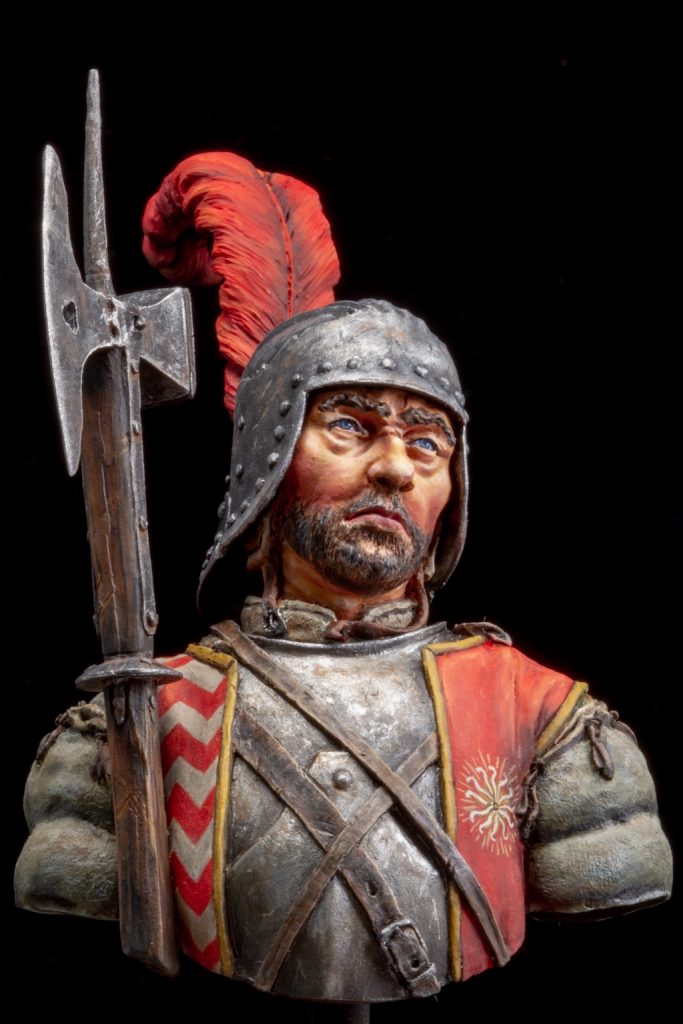
This is the final part of this WIP and this time it was easy, I simply painted the halberd and glued the parts together.
To paint the shaft I used the Brown Set from Andrea Colours using glazes of different shades. The job was easy thanks to the wood grain of the cast. I also added some dark brown/black glazes in the wood parts closer to the metal part in order to simulate the dirty areas.
For the metal parts I used, again, the Vallejo Metal Colours which I strongly suggest to anyone. As previously, I started with the Steel, then I used Silver and a a Silver-Steel mis for the various shadows. I also created some rust-effect using an orangish-brown.
Below you can find a galley with the final pictures which I took using my Canon 7D DSLR in a controlled light environment, using a simple portable photo studio.
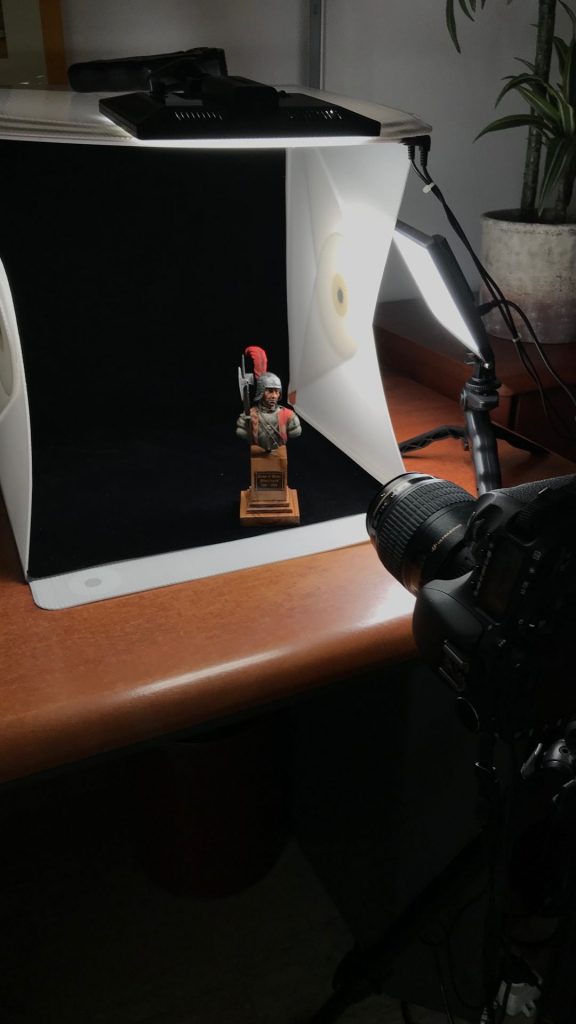
Oh, if you been wondering how I take the pictures to the miniatures, on the right side you can find a photo of my setup.
Of course I use a tripod and a macro lens, specifically the Canon 100mm f2.8 This is a prime lens, so no zoom at all, which makes life a bit tricky.
In order to get a few centimeters of depth of field, I need to use a very small aperture, so I use f32. With such small apertures, the diffraction might take the lead and create an out of focus shot, but in practice the effect is not so dramatic. This aperture of course increases a lot the exposure time, with the lights I use it’s about 5-8s, that’s why I need the tripod!
To minimize any vibration due to the internal mirror, I also use and external switch to trigger the shutter.
Ok, that’s all folks! I hope you will enjoy the photos as I did painting this beautiful bust!
Luciano

